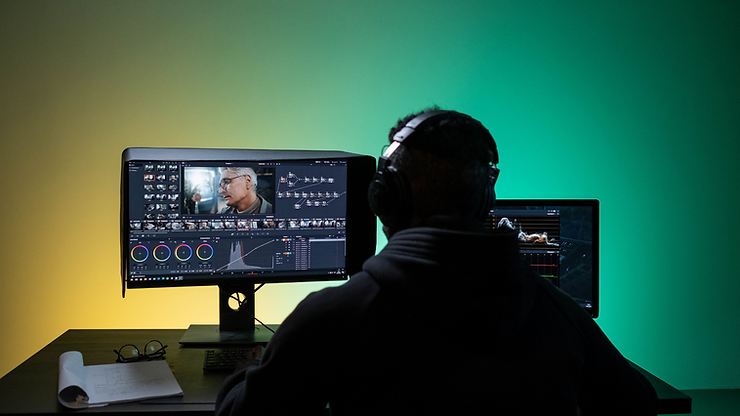


Welcome to Part 2 of "How to Deliver Audio and Video Assets to Your Sound Designer". This short guide provides the best settings for exporting an AAF file from DaVinci Resolve for Pro Tools.
Let's take a quick review of the steps to get your video assets ready.
Navigate to your software’s video export window, and select the following settings:
Let's run over the key steps of getting your audio content ready - quickly and easily.
Ensure your sound team has easy access to all audio takes recorded on set. Upload the files to a file-sharing service, like Google Drive, and give them the ability to stream selected files or download them at their convenience.
Ensure the utmost efficiency in your workflow and prevent delays by completing the final locked edit of your project (this can be done before incorporating any colour grading or visual effects).
Place all current dialogue tracks, ADR, voice-over, sound effects, and music at their desired timecode position in your editing session.
Placing a 1kHz sine wave of a single frame duration two seconds before the video region starts can ensure that the final mix from audio post-production is perfectly synchronised with your edit’s timecode. This saves you time and effort in achieving proper sync alignment. The video region should start at timecode 01 00 00 00, unless your distribution specifications say otherwise.
Delivering With DaVinci Resolve:
Ensure that your audio clips are displayed with individual microphones on separate tracks.

Navigate to the delivery window, and select the following settings:
Render Settings - Pro Tools
Video Tab

Audio Tab

We hope you enjoyed reading this guide and have gained some useful knowledge to take forward into your next project!

344 Audio is an Audio Post Production Company in Manchester.
If you enjoyed this post, discover our Ultimate Guide to Audio Post-Production.
Curious to hear our work? Listen to our portfolio.
Eager to learn more about audio post production and sound design? Explore our Audio Post Essentials Course at 344 Academy.
We also have unique sound effects available for purchase.