Game audio is what makes a world feel alive.
When a player fires a weapon, walks through a forest, or interacts with an object, sound is what confirms the action, reinforces feedback, and builds immersion. Without well-designed audio, even visually impressive games can feel flat or disconnected.
Game audio assets are not just background additions. They are practical and emotional tools that help shape the player’s experience. They communicate information, support gameplay, and make actions feel responsive. A menu click, a footstep, a reload, or a distant environmental sound all help tell the player what is happening and how the world behaves.
This matters because games are interactive. Unlike film or television, audio in games has to respond to player choices, movement, timing, and repetition. Sounds are triggered again and again, often under different conditions, so they need to be clear, consistent, and flexible enough to work in context.
If you are building a game or working in interactive media, understanding how to create game audio assets properly will help you deliver a more polished and engaging product. It will also help you make better decisions about what should be recorded, what can be sourced, what needs variation, and what must be tested in-game before it is truly finished.
Game audio assets are individual sound elements designed for use within a game or interactive environment. These include everything from footsteps and UI clicks to weapon sounds, environmental ambiences, and character vocalisations.
Unlike film or linear media, game audio is interactive. Sounds are not placed on a fixed timeline. They are triggered by player input, system events, and in-game logic. This means a single sound may play hundreds of times under slightly different conditions. Because of this, assets must be built to handle repetition, variation, and real-time playback without losing clarity or impact.
Common types of game audio assets include:
Each category serves a different purpose. Some sounds provide direct feedback, such as a button click or weapon fire. Others support immersion, like distant ambience or subtle environmental movement. Together, they form a system that helps the player understand the game world without needing constant visual cues.
Because these assets operate within a system, they need to be consistent and predictable. Levels should be balanced so no sound feels out of place. Variations should be introduced where repetition is likely, such as footsteps or gunfire, to prevent fatigue. File naming and organisation must also be clear so assets can be implemented efficiently.
In practice, creating game audio assets is not just about making individual sounds. It is about designing a collection of elements that work together reliably across different gameplay scenarios.

Game audio directly affects how a player experiences the game.
Well-designed audio improves clarity, immersion, and responsiveness. Poor audio creates confusion, weakens feedback, and can make even strong gameplay feel unpolished.
Sound often carries information that visuals alone cannot deliver quickly enough. A player may not always be looking at the exact point of action, so audio confirms what has happened and what needs attention.
Game audio assets help to:
Responsiveness is critical. When a player performs an action, the sound must feel immediate and appropriate. Even slight delays or mismatches can break immersion.
Consistency also matters. Sounds should behave predictably, while still offering variation where repetition occurs.
Before creating any sounds, you need a clear understanding of the game world.
Ask simple but important questions:
Defining the audio direction early ensures consistency across all assets. Without this, sounds can feel mismatched or disconnected from the visuals and gameplay.
For example:
This stage often involves working closely with the game designer or creative director to align sound with the visual and gameplay direction. It can also help to create a small set of reference sounds early on, so every new asset follows the same tone and standard.
Once the style is defined, the next step is to create a detailed asset list.
This is one of the most important steps in the process because it prevents missing sounds later in development and keeps production organised from the start.
Break the list into clear categories such as:
Each category should include variations where needed. For example, footsteps may require multiple surface types such as wood, metal, grass, and concrete.
It is also useful to prioritise core gameplay sounds first. These are the sounds the player hears most often, such as movement, interactions, and primary actions. Getting these right early helps define the overall feel of the game before moving on to secondary or background elements.
As the project develops, this list can evolve. New sounds may be added as gameplay changes, so keeping the list updated ensures nothing is overlooked.
A clear and structured asset list keeps the workflow efficient and helps maintain consistency across the entire game.
Once the asset list is complete, you can begin gathering raw audio.
There are two main approaches:
Recording your own sounds gives you full control and originality. This can involve:
Original recording is often used when a project requires unique or highly specific sounds that cannot be sourced easily. It also allows you to match the exact tone and perspective of your game world.
In many cases, it is more efficient to use existing sound libraries.
There are many platforms where you can buy game audio assets, including curated sound effects libraries and marketplaces. These can provide high-quality recordings that are ready to use or adapt.
When choosing libraries, focus on:
It is also important to choose sounds that leave room for processing. Heavily processed or overly stylised recordings can be harder to shape or combine with other elements.
Most workflows combine both approaches. Libraries provide speed and coverage, while original recording adds uniqueness and helps key sounds stand out.

Raw recordings are rarely ready for use without processing.
Audio editing ensures that each sound is clean, clear, and consistent before it is used in the game.
This stage typically includes:
It is also important to match sounds within the same category. For example, all footsteps or weapon sounds should feel like they belong together in terms of volume, tone, and timing. Inconsistent assets can stand out quickly once implemented.
Clean audio is essential, especially in games where sounds may be triggered repeatedly. Even small imperfections such as noise, uneven levels, or poor timing can become noticeable over time and reduce the overall quality of the experience.
This is where raw audio becomes a finished game asset.
Sound design involves shaping and combining elements to create something that fits the game world. It is not just about making sounds louder or more complex, but about making them feel appropriate, responsive, and consistent within gameplay.
A single sound is often built from multiple layers, for example:
Each layer serves a specific purpose. When combined correctly, they create a sound that feels more complete and believable.
Layering also allows you to control how a sound behaves in different situations. For example, subtle adjustments to the low end or texture can make a sound feel heavier, lighter, closer, or more distant.
Variation is equally important. In games, sounds are triggered repeatedly, so using slight differences in pitch, timing, or layering helps prevent repetition from becoming noticeable. This is especially important for sounds like footsteps, gunfire, and UI interactions.
Sound design is also where creativity plays a major role. Many iconic game sounds are not direct recordings but carefully crafted combinations of different sources.
Studios that specialise in sound design often use a wide range of techniques, including synthesis, experimental recording methods, and unconventional sound sources, to create original assets that stand out while still fitting the game world.
Game audio must be delivered in formats that work reliably within game engines such as Unreal Engine and Unity.
This usually involves exporting assets as:
You also need to consider:
It is important to balance quality and performance. High-quality files sound better, but large file sizes can impact memory and loading times, especially in larger projects.
Game engines and middleware rely on predictable file structures, so consistency at this stage ensures smoother implementation and fewer issues during development.
Organisation is essential for efficient workflows.
Each asset should be clearly named and structured so it can be found quickly during implementation. As projects grow, poor organisation can slow down development and make updates more difficult.
Best practices include:
The Universal Category System (UCS) is a free, industry-standard naming and metadata schema for sound effects libraries. Adopting UCS conventions keeps assets discoverable across projects and tools, and makes collaboration smoother when teams share libraries. Well-tagged libraries such as those at 344 SFX follow UCS metadata conventions, so assets drop into your project ready to search and integrate.
It is also important to think about how others will use the files. In team environments, clear organisation helps developers, designers, and audio teams work more efficiently without confusion.
Well-organised assets reduce errors, speed up integration, and make it easier to replace or update sounds as the project evolves.

Game audio does not exist in isolation. It must work within the game environment.
Implementation involves placing sounds into the game engine and connecting them to gameplay events so they trigger at the right time and under the right conditions.
Testing is critical at this stage.
You need to check:
It is also important to test under different conditions, such as fast-paced gameplay, quiet moments, and repeated actions. Sounds that feel correct in isolation can behave differently once combined with other elements.
Adjustments are often required once sounds are heard in context. This stage usually involves multiple passes, refining timing, levels, and variation until everything feels consistent and responsive.
If you are not creating all assets from scratch, there are many places to source high-quality game audio. Most developers combine custom work with library content to save time while maintaining quality.
Common sources include:
Each option serves a different purpose. Curated libraries tend to offer consistent quality and organisation. Marketplaces can provide niche or unique sounds, but may require more careful selection. Specialist platforms often sit in between, offering structured collections tailored for production use.
When choosing where to buy game audio assets, focus on:
It is also worth considering how the sounds will behave in-game. Some libraries are designed for quick use, while others are better suited as raw material for further editing and layering.
Well-produced libraries can significantly reduce production time. They provide a reliable starting point, allowing you to focus on shaping and integrating sounds rather than building everything from scratch.
Not every project requires building everything in-house.
In many cases, developers combine existing libraries with custom sound design. Smaller projects often rely more on pre-made assets to move quickly, while larger productions tend to invest in bespoke audio to achieve a more distinctive and consistent result.
The decision usually comes down to scope, timeline, and the level of quality required.
You may want to outsource when:
Outsourcing is not just about saving time. It also ensures that the audio is designed with both creativity and technical implementation in mind. Experienced teams understand how sounds will behave in-game, including repetition, variation, and system integration.
Studios such as 344 Audio specialise in game audio asset creation, covering sound design, recording, editing, and full audio production.
Working with an experienced team helps ensure that assets are not only high quality but also structured, consistent, and ready to integrate smoothly into gameplay systems.
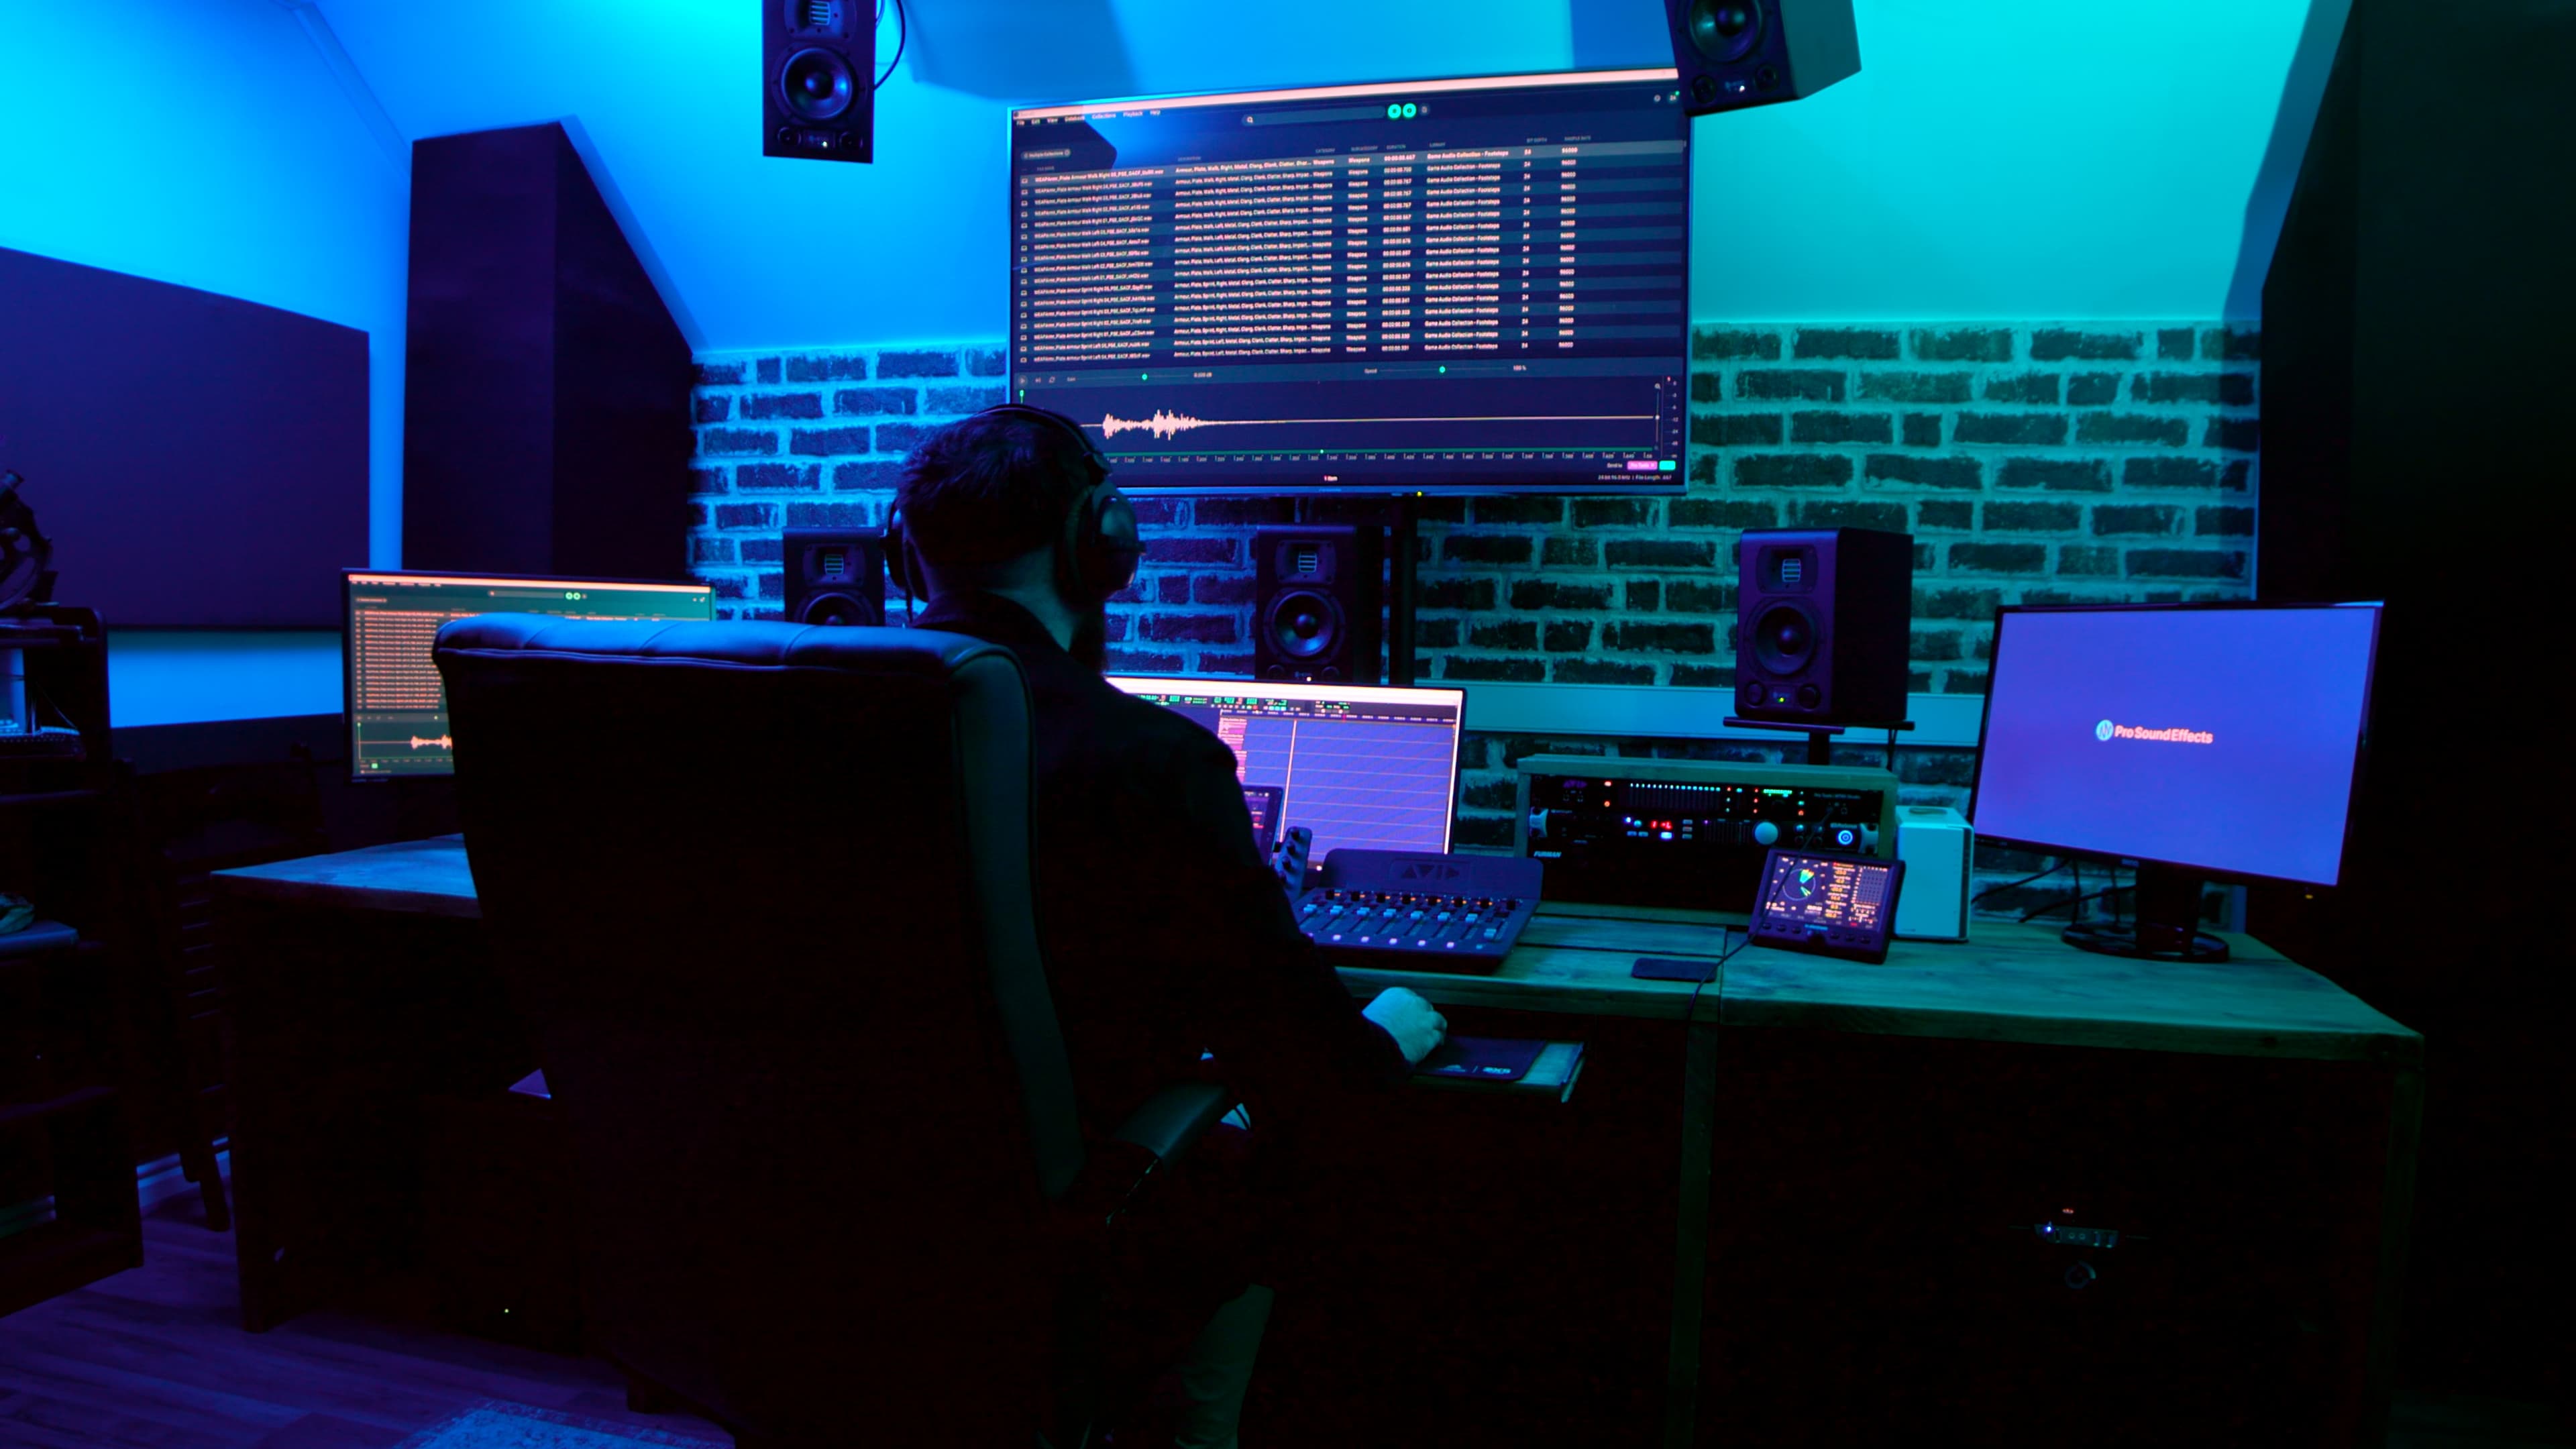
Like this collaboration we did with Pro Sound Effects on their Game Audio Collection: Footsteps library:
Common issues include:
Avoiding these ensures a cleaner, more professional result.
Game audio assets are central to how players experience a game.
They support clarity, immersion, and emotional engagement. More importantly, they create a responsive system that helps players understand and interact with the world.
Whether you build assets yourself or source them, the goal is the same. The soundscape should feel consistent, believable, and aligned with the game.
For projects that require a higher level of quality and consistency, working with experienced teams such as 344 Audio can help ensure your audio meets professional standards.

344 Audio is an Audio Post Production Company in Manchester.
If you enjoyed this post, discover our Ultimate Guide to Audio Post-Production.
Curious to hear our work? Listen to our portfolio.
Eager to learn more about audio post production and sound design? Explore our Audio Post Essentials Course at 344 Academy.
We also have unique sound effects available for purchase.


